Learn how to make your animal plush have a turning head using plastic safety joints!
Materials needed:
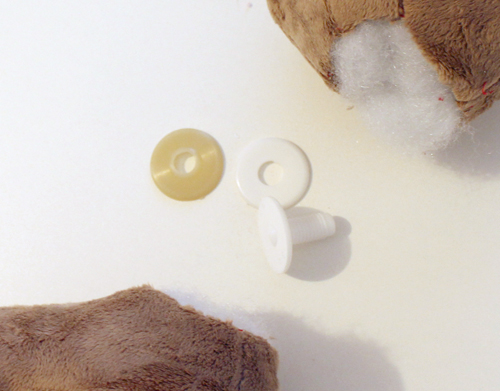
- Safety joint set a bit smaller than the diameter of the neck piece (just subtract seam allowance) – this should be 3 pieces: one stem, one washer, and one connector. If you are using my Chibi Lion pattern, 40-45mm)
- One plush head and body. The body should have an opening somewhere other than the neck (such as along the back seam or butt area)
- 6″x3″ scrap fabric for the neck piece (2.5″ circles if you are using my Chibi Lion pattern)
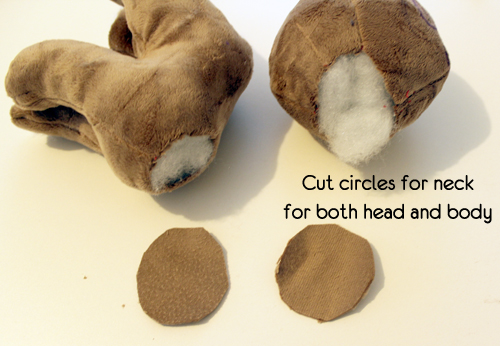
Step one: Cut 2 fabric circles, the size of the neck, plus seam allowance. One is for the head, one for the body.
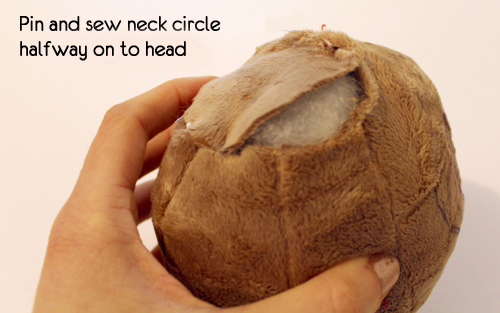
Step two: Pin and sew one circle to the neck, halfway on. You will leave the other half unsewn to insert the safety joint.
Step three: Poke a hole in the middle of the neck piece, large enough for the joint stem to poke through.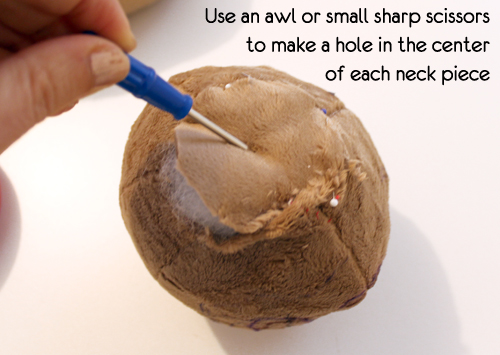
Step four: Completely sew up the neck on the head with the joint inside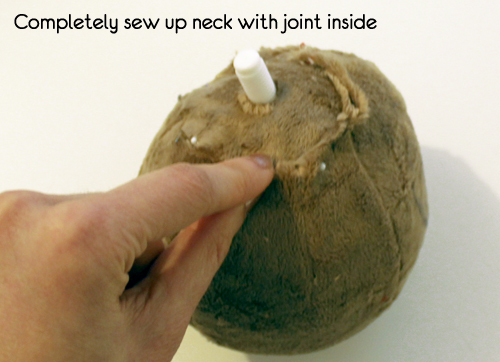
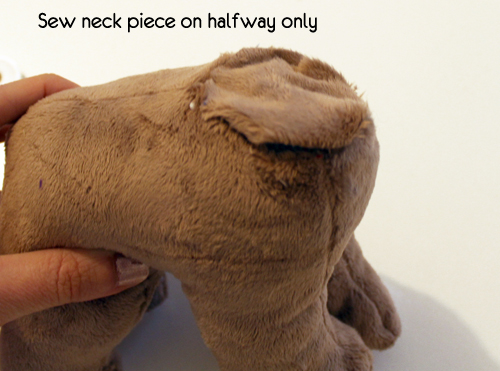
Step five: Sew the other neck circle onto the body, halfway only
Step six: Insert the washer and bottom disc into the neck body.
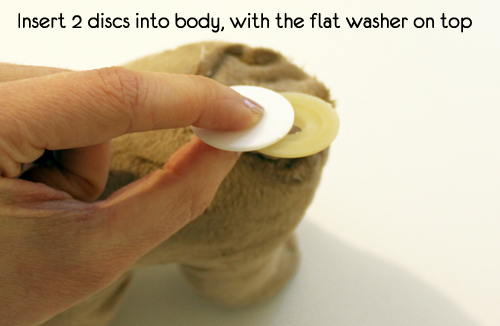
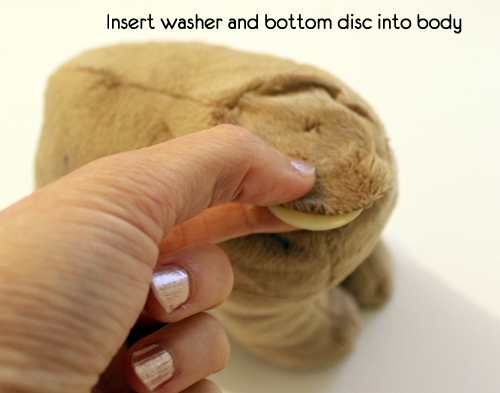
Step seven: Sew up the neck completely with the 2 washer joints inside.
Step eight: Using force, press the (head) stem into the (body) washer. If you can maneuver the body so that the chest is pressed against a hard surface like a table, you can get extra leverage and avoid some finger pain. When the joint keeps clicking with each notch until the head no longer “bobbles”, the neck is tight enough.
