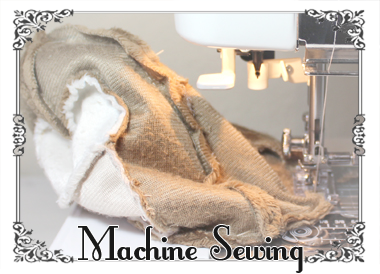
Though a sewing machine is not required to make plushies, it’s definitely a worthwhile investment if you’d like to get more serious about sewing. There is a bit of a learning curve, and some machines are easier to learn than others.
Buying a Machine
Buying a cheap sewing machine is likely to make your sewing experience more painful. Many people new to sewing buy a cheap machine to see if they like sewing; and when the machine fails them, they give up. I started out my first years with a $250 Brother; it was limited in the fabrics it could sew, and produced mediocre-quality sewing. When it died 3 years later, it was more expensive to fix than to buy a new one. It suited my needs for beginner sewing, and I was able to save up enough money over the years for a nice Janome MC 6500 that can sew through 8 layers of denim. It’s made my sewing experience much more enjoyable :)
Try out various machines at your local sewing machine dealer and see what works best for you, and buy what you can afford. You can purchased used, display samples, and refurbished machines to get more bang for your buck. Use caution when buying online, or used from family/friends.
Tips for machine sewing:
- Before starting your project, always test out stitch length, tension, and width (if zig zag stitching) first on a scrap fabric. Try with and without interfacing.
- When sewing fur with a nap, try to sew with the direction of the fur, not against it.
- Universal needles should work for most projects. Alternatively, use sharp needles on cotton/woven/nonstretch fabrics, and ballpoint needles for fleece/minky/stretchy fabrics.
- Begin and end machine stitching with a few back-stitches to secure your seam.
- Use interfacing when sewing a stretchy fabric to a non-stretch fabric. Pick your interfacing out carefully! Lightweight interfacing should be used for lightweight fabrics, and heavyweight interfacing for heavyweight fabrics.
- When you’re finished stitching, clip or snip curved edges
In my experience, 95% of sewing machine problems can be corrected by the following:
- Correct threading and tension – the first thing to check if you have a problem
- Bobbin wound and inserted correctly
- Correct needle for the fabric, change needle when used
- Using only good quality thread that isn’t too old
- Make sure the throat plate doesn’t have dents from the needle that the fabric catches on
- Clean out lint from underneath the throat plate and around the bottom bobbin area after each project
- Using interfacing underneath your project if the fabric keeps getting “sucked down” into the bottom bobbin area. The feed dogs need something to grab onto
- If the fabric is just too thick (such as layers of jeans/pleather) and stitches aren’t coming out nicely, and you’re sewing on a $250 machine, you’ll likely need to invest in a higher quality machine. Low-cost machines are for general home sewing and just aren’t tough enough for some fabrics.
Tips for practicing on your machine:
- Draw some straight lines, zig-zag lines, and swirly lines on piece of paper. Do not thread your machine top or bottom, and try to sew over the drawn lines.
- If pins are not holding your fabric well enough together, you may need to use basting stitches before sewing. This is helpful when sewing small curves and using thick or slippery fabrics.

