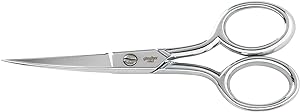
My favorite embroidery supplies for making minky plush! Updated 8/26/24: My favorite brands, high quality and the best values. Now with working links! Embroidery Machine: Janome Memory Craft 500E My embroidery machine is an absolute workhorse! I’ve had it for many years and it can handle a lot of density, huge hoops, and rarely needs maintenance. I chose Janome 500E because it’s affordable, well made (a
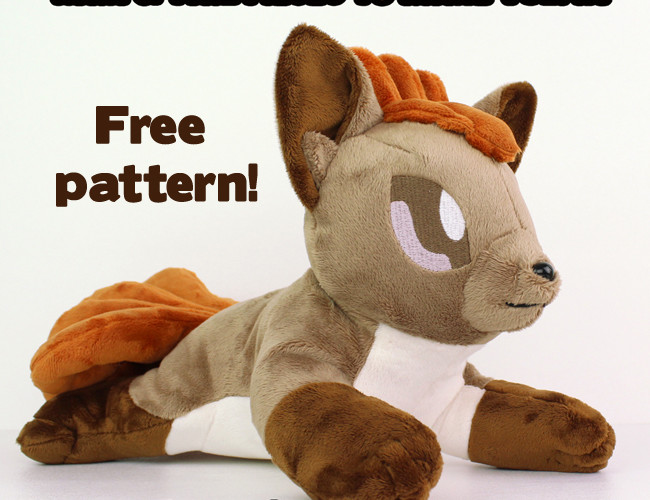
Free plush sewing pattern: Vulpix tails & hair for Newborn Fox
If you’ve already purchased my Newborn Fox plushie sewing pattern, here is a free sewing pattern to turn your fox into the Pokemon Vulpix! Pattern: Download the free add-on pattern for Vulpix here. I’d love to see what you make with this pattern ~ Share your finished plush with me on social media & your post can be featured! Instagram @teacuplion And that’s it! If
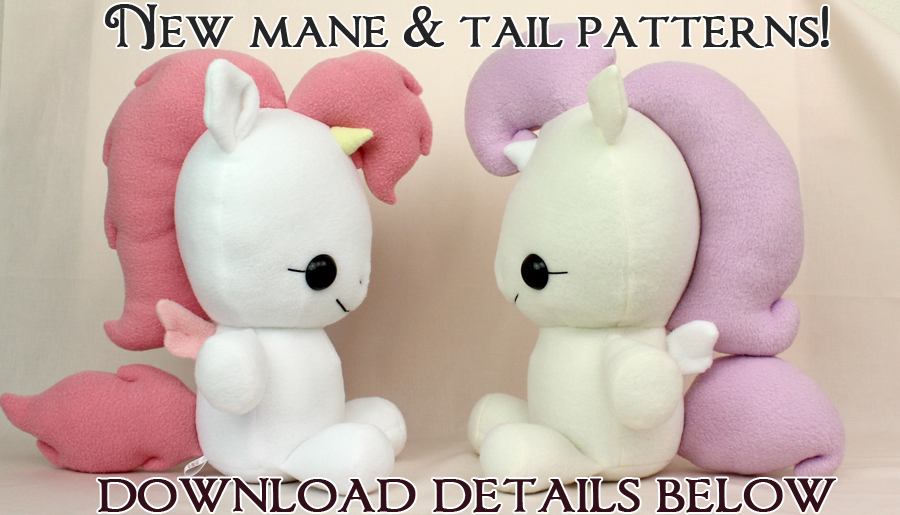
Free plush sewing pattern: Pony & Horse mane for stuffed animals
If you’ve already purchased my Baby Pony plushie sewing pattern, here is a free bonus sewing pattern for another mane and set of ears! I love this pattern since it’s all stylized and puffy, and the fleece works so well with the topstitched details. Plus, you could make a cute baby Rainbow Dash or Applejack plushie with this mane and tail pattern :) The ear
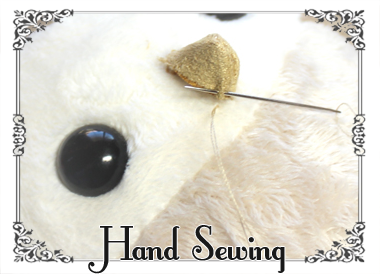
Hand sewing
You can sew many lovely plush using just a few stitches. For smooth sewing, I highly recommend Thread Heaven or beeswax for your thread to glide easily through the fabric, and not tangle. :) Running Stitch: A basic stitch. Lengthen stitch length to make a basting stitch. Sew straight and even lines 2mm away from the raw edge, alternating sides of the fabric. Pull the
Preparation
To ensure that your sewn pieces will turn out well, some preparation work is needed to align pieces correctly and pin well so that minimal shifting occurs. Printing: Make sure to have PDF reading software, and keep it updated. Adobe Acrobat Reader is commonly used and free to download: http://get.adobe.com/reader Be sure to read printing instructions that came
Finishing techniques
Here are some techniques I use to give my plush work a finished, more professional feel. With all the effort and love you put into your creations, these tips should really help your art shine! Quadruple-check placement and symmetry of any applique, eyes, or accessories. Use a mirror or camera, because your eyes will play tricks on you! Fix mistakes and don’t cut corners.
Supplies & notions
There are tons of great tools out there to help make sewing faster and easier for you, but you don’t have to have all the tools below to make plushies. You can make and design plush with just scissors, thread, needle, pins, and fabric. It’s a good idea to start out small in terms of financial investment, gain comfort and skill, and work your way
Kid-safe soft toys
Machine sew as much as possible; or if handsewing, use a backstitch. This keeps your seams nice and secure. If rips or tears occur on the plushie after play, repair seams with a ladder stitch or sew on patches. Polyester fiberfill is not delicious! Put plastic pellets in a fabric bag for safety, and to keep them from coming loose inside the toy. You can
Machine sewing
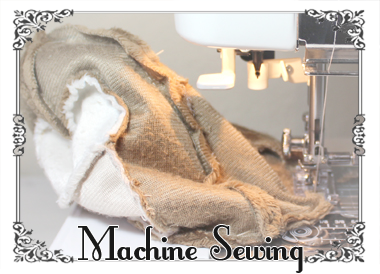
Though a sewing machine is not required to make plushies, it’s definitely a worthwhile investment if you’d like to get more serious about sewing. There is a bit of a learning curve, and some machines are easier to learn than others. Buying a Machine Buying a cheap sewing machine is likely to make your sewing experience more painful. Many people new to sewing buy
Care & maintenance
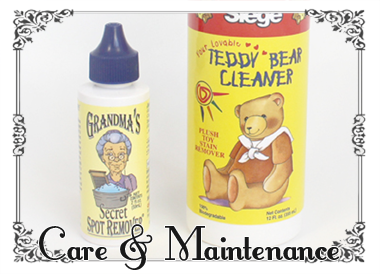
How to clean and repair loved stuffed animals~ Removing dust from plush: Use a lint roller to remove dust, hair, and other particles from the fabric’s surface. Take caution when lint rolling felt plush, so that it does not damage the fabric. To remove particles more thoroughly, You can also vacuum stuffed animals with a small attachment. How to clean stuffed animals: The method
- « Previous Page
- 1
- …
- 5
- 6
- 7
- 8
- Next Page »

