To ensure that your sewn pieces will turn out well, some preparation work is needed to align pieces correctly and pin well so that minimal shifting occurs.
Printing:
- Make sure to have PDF reading software, and keep it updated. Adobe Acrobat Reader is commonly used and free to download: http://get.adobe.com/reader
- Be sure to read printing instructions that came with your pattern!
- All TeacupLion patterns are to be printed at “Actual Size”. Your printer may attempt to resize pages on its’ own if you leave this option box unchecked.
Cutting patterns & preparing:
- Be sure to read your instructions before cutting your patterns!
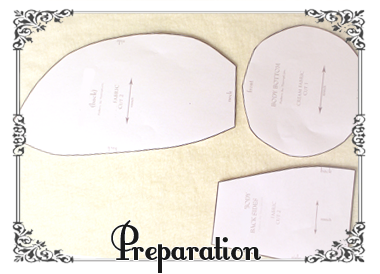
- For pattern pieces that need to be taped together, align your two pieces together, then apply scotch tape. Make sure to tape at the edges where they meet, and cut away any extra tape.
- If your patterns do not have seam allowance included, you will want to draw it in before cutting your patterns. You can do so by using a clear ruler. Make small marks by holding the ruler perpendicular to the stitching line. Then, attach the marks using curved lines that have a consistent distance from the stitching line.

Tracing patterns
- For tracing any stretchy fabric, cutting the pieces from one layer of fabric at a time will give you better symmetry than cutting two at once. For each piece marked as “Cut 2”, cut 1 piece, then flip the pattern, and cut the 2nd piece. You should have 1 piece each of WS and RS.
- Smooth out your fabric, and place the pattern pieces with the nap arrow parallel to the nap, or grain arrow parallel to fabric grain. You can either pin your pattern to the fabric, or hold it in place and carefully trace around.
- For each piece marked “FOLD”, place this pattern piece on the fold of fabric that you have folded in half, trace, and cut.
- If some of your pattern pieces have some tricky machine sewing, or if you would like guidelines to sew along, use chalk or washable marker to draw the stitching line on your fabric before sewing.
Cutting fabric
- When cutting fabric that stretches, make sure that the directional stretch/crossgrain is the same for each matching piece. If the stretch for one half of the head is different from the other half, the resulting plush will be slightly lopsided once stuffed.
- When cutting very small pieces for hand sewing, tape the pattern to the fabric. Cut the fabric around the pattern pieces, and gently pull off the tape.
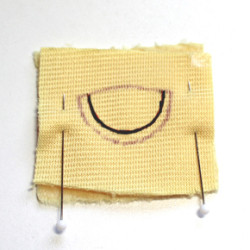
- When cutting very small pieces for machine sewing, first trace the pattern to the fabric, draw the stitching line, and cut a minimum of a 2.5” square, or enough for your feed dogs to be able to grab the fabric.
- When finished cutting your pieces, place the patterns on them again and trim away any extra fabric with small scissors.

Dealing with fraying:
- For other fabrics that fray, I recommend fray-check after sewing, or zig-zag stitching the edges.
- Pinking shears are great for finishing the sewn edges knits, felts, and fabrics that don’t fray.
Pinning
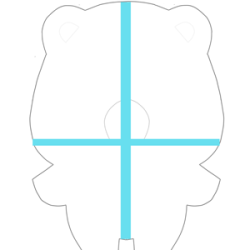
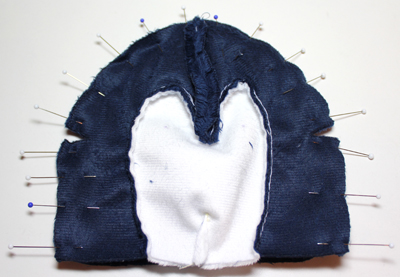
- For even pinning, pin your fabric at each end/corner, and once in the middle. Then pin at halfway points in-between.
- For larger pieces of fabric with stretchy/slippery fabric, alternate sides of the fabric to pin, so that the fabric slips less.
- Some fabrics like minky or fleece need lots of pins; I use about 1 pin per inch or half-inch.


