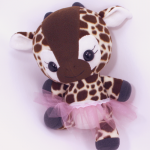
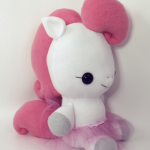
Learn how to make your own easy doll skirt with my photo tutorial :)
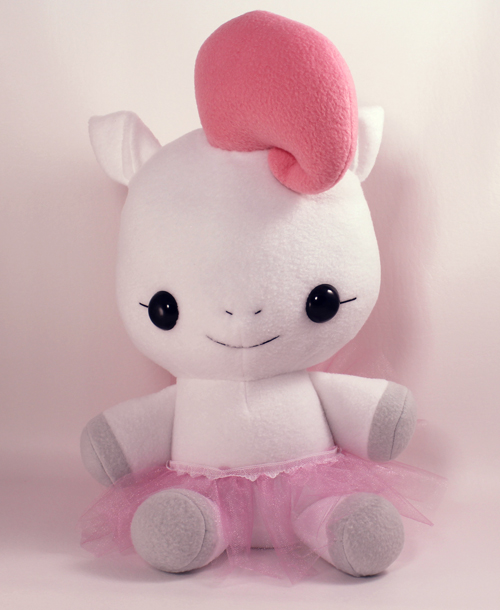
These instructions will help you make any gathered skirt, but the measurements are tailored for these plushies:
Do you remember the cute ballerina hippos from Fantasia? I loved them! That movie was so magical to me when I was a little girl. I hope you can use this tutorial to share a little bit of magic with other children out there!

Materials needed:
- 7″x60″ tulle or netting (1/5 yd)
- Sewing machine
- Thread
- Scissors
- Snap or velcro closure
- Ribbon or lace (optional)
Start with a strip of netting 60″ long, 7 inches tall. It’s a bit tricky to cut straight since the material likes to stick to itself, but just do your best. Any flaws will be less noticeable after the material is gathered :)
Lay your netting so that the length is horizontal to you. Fold the top half down 1″ past the halfway point – this will give your skirt a “layered” look.
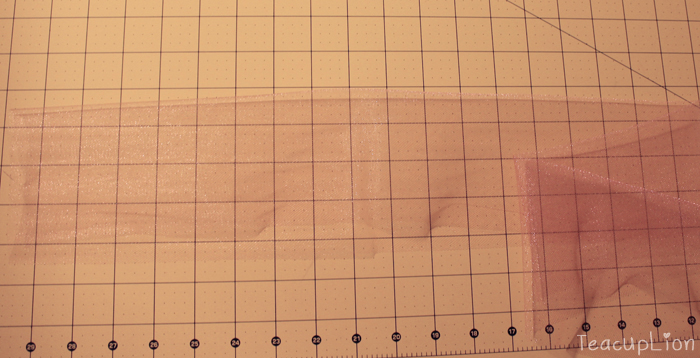
Place pins at the fold about one every 6 inches. The squares on my cutting mat grid are 1″ for scale reference.
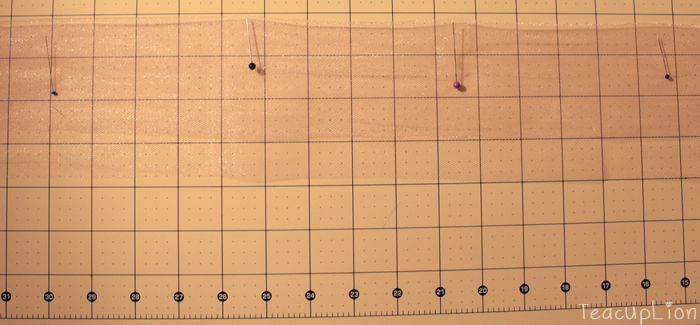
Using a basting stitch (the longest stitch setting on your machine), sew a straight line on the fold with 1/8″ seam allowance. DO NOT backstitch at the beginning and end, and leave a few inches of thread tails as well. You may need to increase your top thread tension like I did; but if your tension isn’t perfect, it won’t matter much.
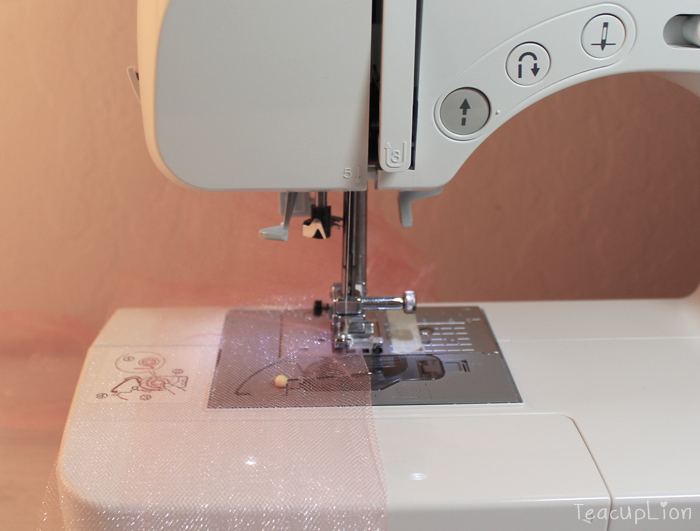
Now, to create the gathers, you will pull on the top thread ONLY for each side of the skirt. On the left side, hold the bottom thread and fabric with one hand, while pulling the top thread. As you pull, move the gathered netting to the center of the skirt, and even out the gathers as best you can. Repeat for the right side.
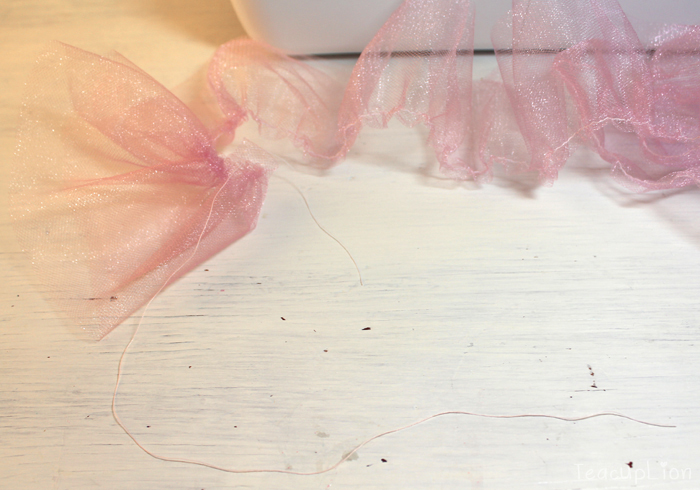
Once your gathers are evened out enough, adjust them so that the length of one end to the other measures 18″ long. Pin the gathers in place at each edge. Double-knot the two threads at each edge together, and snip the extra thread.
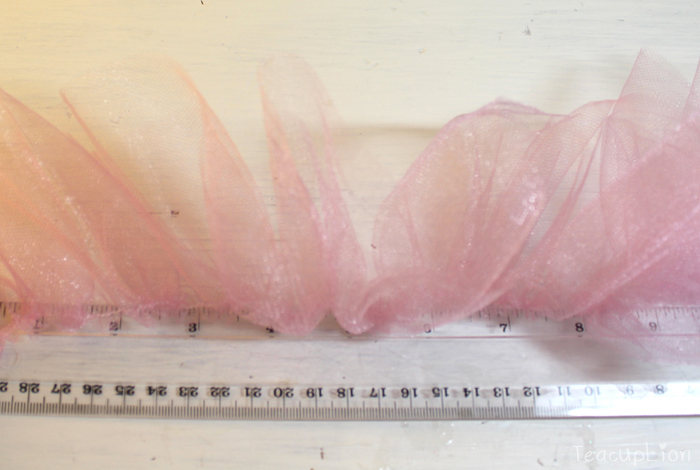
Place pins at the gathers all along the seam. You can leave the edge raw, or pin a length of ribbon or lace over the raw edge.
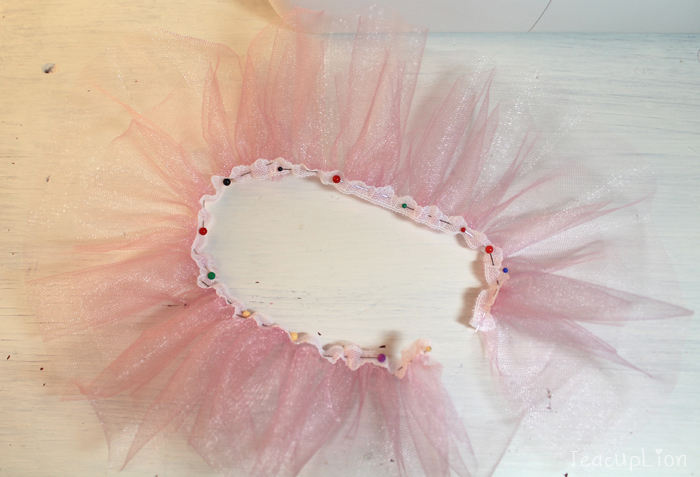
On your machine, sew over the edge with 1/8″ seam allowance. Make sure to backstitch at the beginning and end of sewing.
Your skirt is almost done! At this point, you will want to test the length of the skirt on your plushie by wrapping it around. The skirt should seem a little bit long – you will use this extra to fold over each edge for strength for your closure. Fold and pin the extra on each edge of the skirt.
Handsew on your snap or velcro, making sure that it will close properly before fully sewing it on. I used a snap here, and sent through each hole on the snap several times around. If sewing velcro, use a backstitch around the perimeter. Make sure your starting and ending knots are strong.
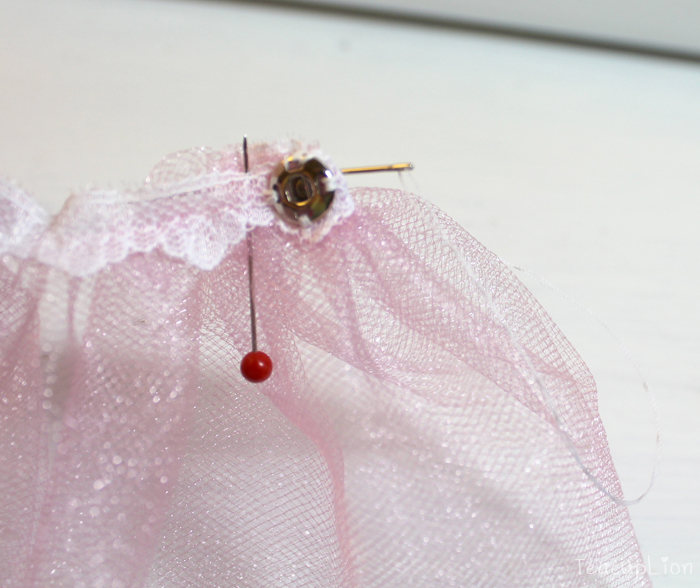
Yay, that was super easy!! I hope you have fun making your own :)
Love, TeacupLion
