Here’s a quick thread sculpting tutorial, as featured in my Newborn Fox plushie sewing pattern ~ You can add dimension to the face by using thread to manipulate the shape of the face. I will be thread sculpting (also called needle sculpting) the eye sockets to pull the eyes back into the head a bit. This will give a very natural look to the face.
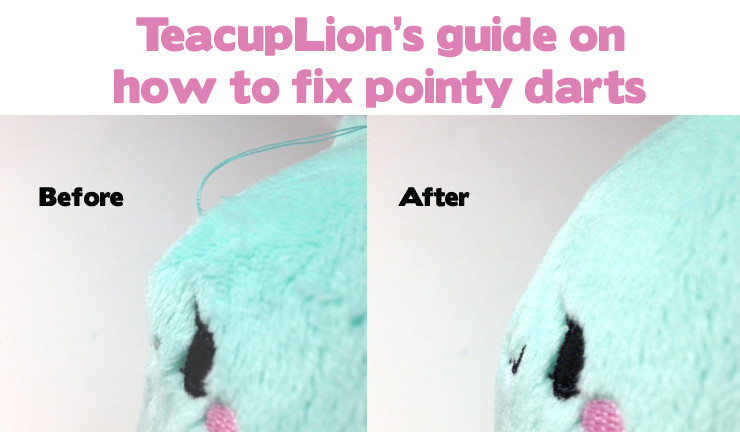
How to fix pointy darts
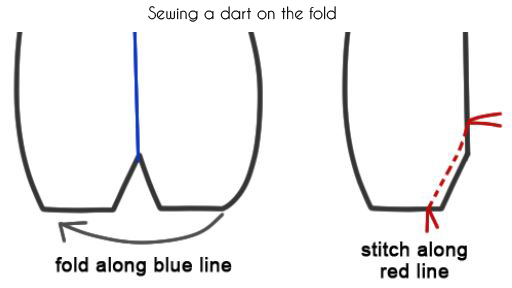
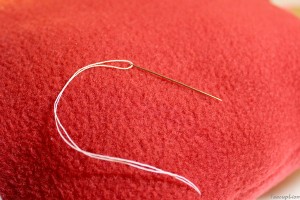
In this tutorial, I will show you how to make a pointy dart smoother if you’ve already sewn and stuffed your plush. In my last tutorial, I covered how to sew darts smoothly by machine so that you achieve a fine curve. You will need a handsewing needle, thread, and scissors. Thread conditioner is helpful! Start your needle at the top of the seam (on
Plush iron-on eye tutorial
Materials needed: Printer, ink, regular paper, dark fabric iron-on transfer sheets, iron Step 1: Test print eyes and make adjustments You should not need to mirror your image before printing. Print a test sheet on regular paper, standard or high print quality. For me, the eyes print darker ink than shown on my computer. You can use photo editing software to adjust the hue and
Plushie eye painting tutorial
Materials needed: Acrylic paint, textile medium, small brush, plastic palette, cup of water, chalk/pen Step 1: Set up your surface with newspaper underneath, as paint can stain through fabric onto your table. Put your colors on your palette, and mix colors as necessary to achieve correct eye / eyebrow colors. Add a small bit of textile medium to each color. Step 2: Use your pattern
Tips on sewing darts
How to sew a dart Fold the fabric so that the “v” shaped dart will become a straight line. Start at one point (I would start at the bottom below) and finish at the other. Make sure to backstitch at the start of and end of the dart. Sewing a smooth dart When finishing, sew as smoothly as possible to make the stitches almost parallel
What I use for embroidering on minky
My favorite embroidery supplies for making minky plush! Updated 8/26/24: My favorite brands, high quality and the best values. Now with working links! Embroidery Machine: Janome Memory Craft 500E My embroidery machine is an absolute workhorse! I’ve had it for many years and it can handle a lot of density, huge hoops, and rarely needs maintenance. I chose Janome 500E because it’s affordable, well made (a
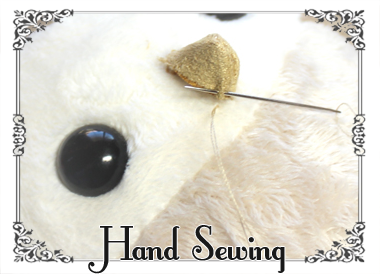
Hand sewing
You can sew many lovely plush using just a few stitches. For smooth sewing, I highly recommend Thread Heaven or beeswax for your thread to glide easily through the fabric, and not tangle. :) Running Stitch: A basic stitch. Lengthen stitch length to make a basting stitch. Sew straight and even lines 2mm away from the raw edge, alternating sides of the fabric. Pull the
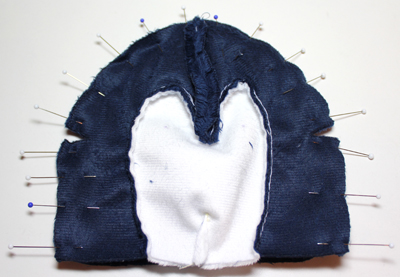
Preparation
To ensure that your sewn pieces will turn out well, some preparation work is needed to align pieces correctly and pin well so that minimal shifting occurs. Printing: Make sure to have PDF reading software, and keep it updated. Adobe Acrobat Reader is commonly used and free to download: http://get.adobe.com/reader Be sure to read printing instructions that came
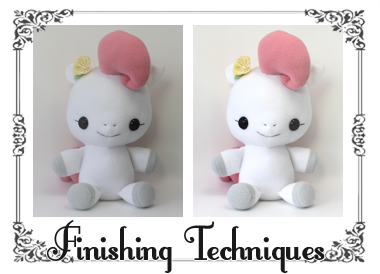
Finishing techniques
Here are some techniques I use to give my plush work a finished, more professional feel. With all the effort and love you put into your creations, these tips should really help your art shine! Quadruple-check placement and symmetry of any applique, eyes, or accessories. Use a mirror or camera, because your eyes will play tricks on you! Fix mistakes and don’t cut corners.


